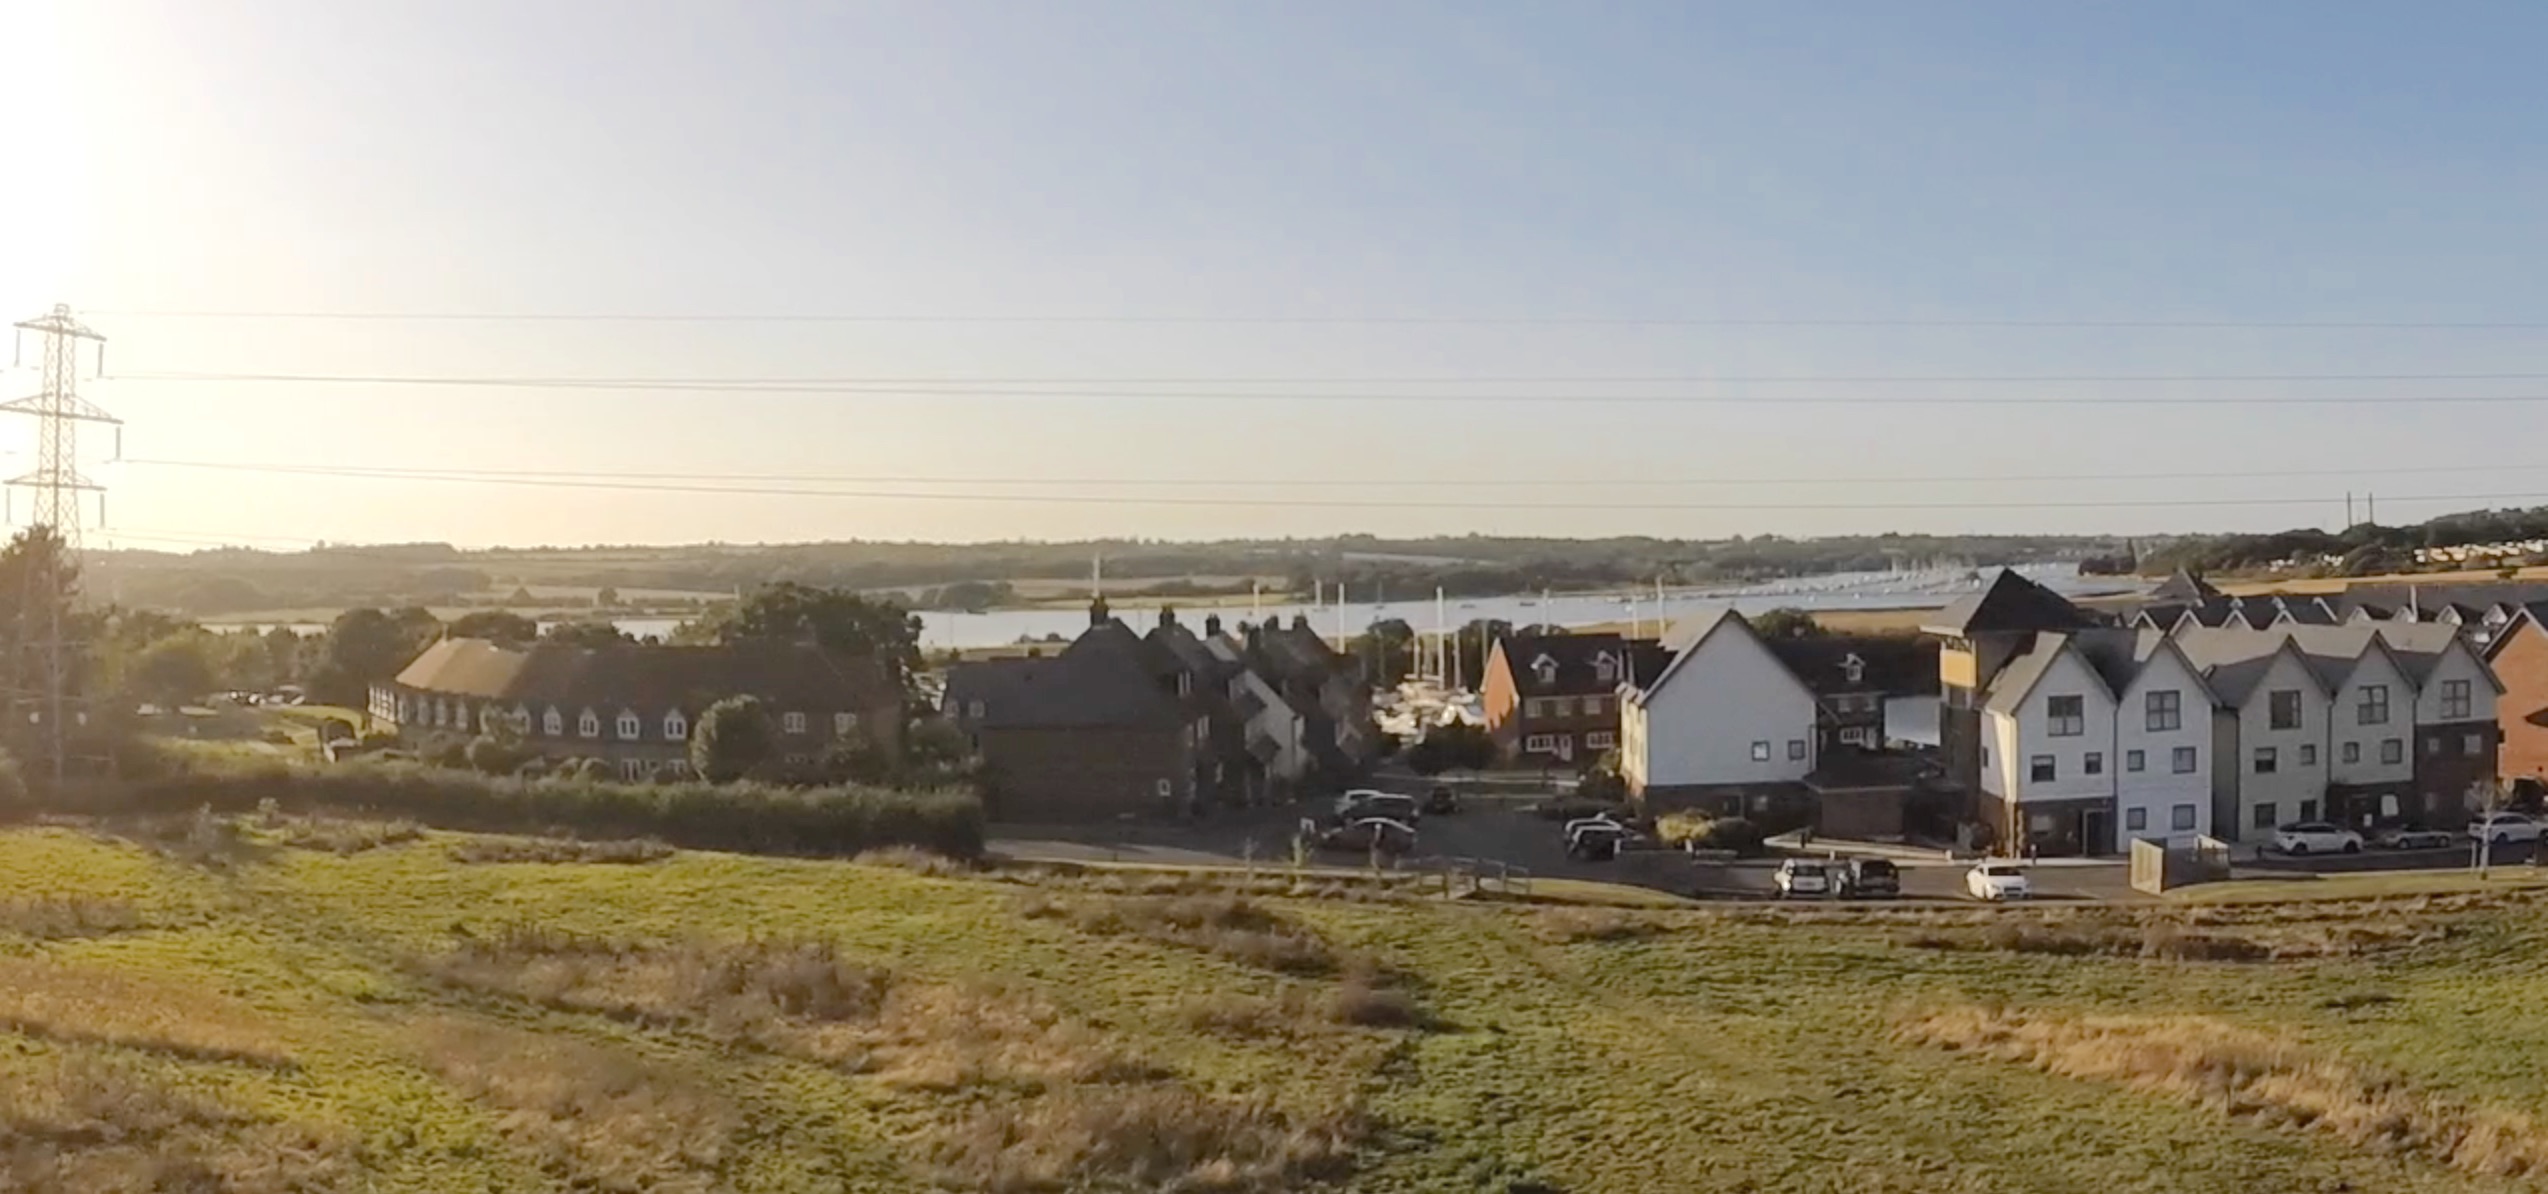
Island Harbour from the residents' field at 12m agl.
| Frame: | Tarot 960 |
|---|---|
| Flight Controller: | RaspberryPi + NAVIO2 |
| Operating system: | Raspian GNU LINUX 9.9 (stretch) |
| Flight controller software: | ARDUcopter (ARDUpilot) |
| Motors (6): | Tarot 5008 KV 340 |
| ESC (motor contoller): | HobbyWing Xrotor Pro 40A |
| Propellers (6): | Tarot 470mm Carbon fibre |
| Battery: | Turnigy LpIo 8000mAh C15 S6 |
| Power module: | Mauch 075 HS 200A LV 2-6S |
| Radio control: | FrSky X8R |
| UHF telemetry: | 3DR radio Tx/Rx |
| Weight: | 5.7kg |
| Imaging system: | GoPro Hero3+ in Tarot gimbal |
The following video shows the two short flights as seen from the GoPro Hero3+ camera mounted on the UAV. The video contains a sound track also recorded by the GoPro. The first flight resulted in damage to the landing gear. A 440mm long, 16mm diameter, carbon fibre tube was broken as a result of impact with the ground. I had problems with the UHF telemetry link which was the only source of information from the UAV. After the event I was able to recover some information from the log files: The mean battery current during flight was approximatly 25Amps with a possible maximum of 40Amps. The maximum altitude was about 12 metres. The most sucessful aspects are not immediatly obvious but are nontheless important and encouraging. For example the UAV remained heading in one direction throughout the flight. Also the STABILIZE flight mode kept the UAV flying level with the ground. Human input had the opposite effect.
This is shortened version of the video posted a few weeks ago and the quality has suffered a little due to the edit.
NOTE: if play isn't available; then please reload the page.
In truth the UAV wasn't sufficiently prepared for it's first flight. The most serious omission was not having carefully setup two or three essential flight modes. RTL and LOITER are the essential modes for any beginner. If you value your hardware then you should definitely avoid flying manually in STABILISE mode. And above all, you should avoid any attempt to land manually. You can, and should fly in LOITER mode and use RTL (Return To Launch) to land. Once setup LOITER will hold the UAV's position and altitude. Move the throttle up and the UAV will climb to a new altitude. Rotate the UAV using the 'yaw' control and fly it to a new position with 'pitch' and 'roll'. Let go the sticks and the UAV will loiter where it is. Switch mode to RTL and the UAV will autonomously return to a position overhead the launch position and then gently decedent to land. [Using the latest software RTL could retrace the outbound course in reverse, including altitude changes which allows for complex hazard avoidance.] ALT_HOLD and POS_HOLD are similar, the first holding the altitude only and the second holding the position only.
Having said that it must now be admitted that setting up these flight modes from scratch and assigning switches on a remote control transmitter involves quite a lot of work. Out-of-the-box the control transmitter has nothing pre-configured. Every switch has to be assigned a use. Flight modes are communicated to the Flight Controller over a radio link [usually channel 5] as a pulse width. So mode 1 is selected by sending pulses of a certain duration in milliseconds. Mode 2 will be recognised from a pulse slightly longer that mode 1 and so on for up to six modes. The duration of the pulses depend on your particular UAV. Then you map modes 1 through 6 with the flight mode you want by editing MAV parameter values. Each mode then has a number of MAV parameters which define how the mode operates, for example there will be a MAV parameter for 'rate of decent' in metres per second.